
Auto Detailing Tips · Kitchener Guides
Benefits of Headlight Restoration for Kitchener Drivers
Learn the benefits of headlight restoration for Kitchener drivers, including clearer lenses, safer night visibility, DIY limits, replacement signs, and UV-
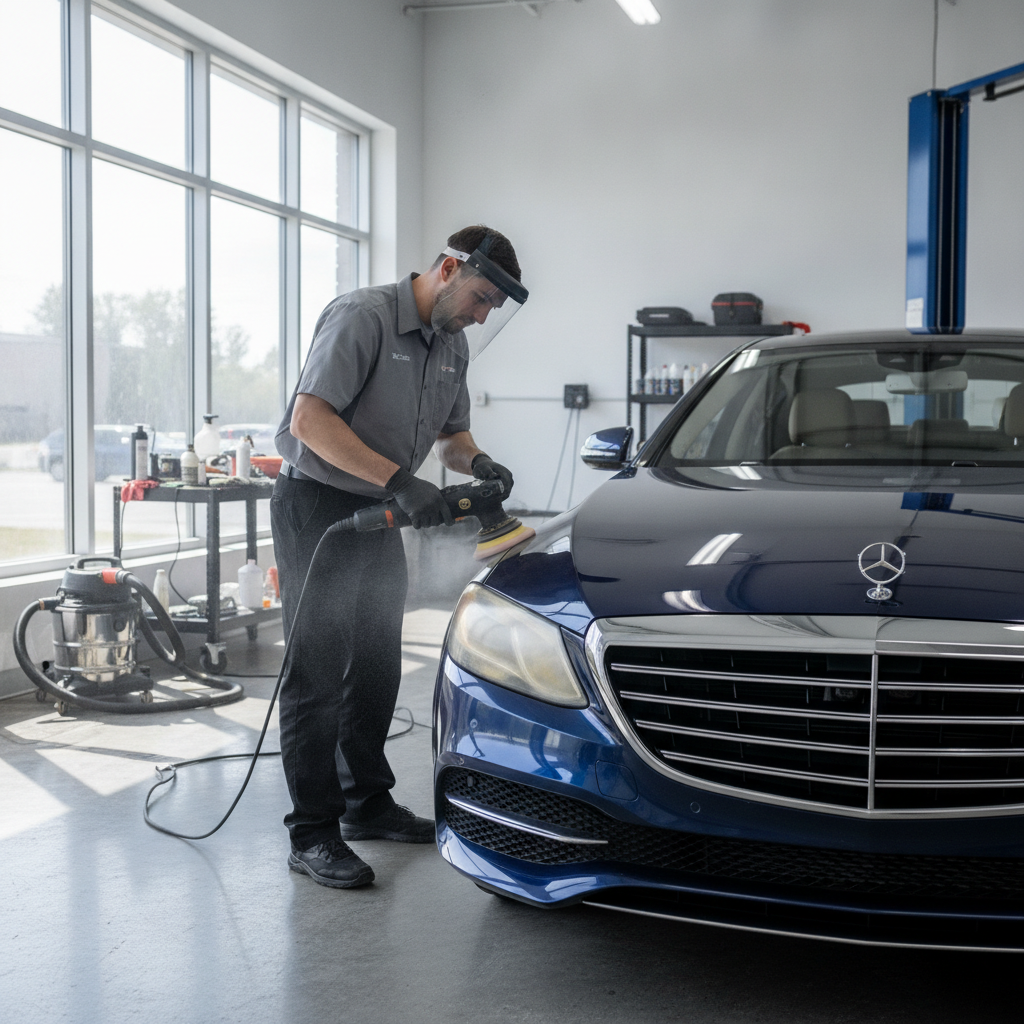
Last updated: October 2026
Key takeaway:Headlight restoration can improve the clarity and appearance of cloudy, yellowed lenses, helping Kitchener drivers see the road more clearly in darkness and bad weather. Professional restoration removes damaged surface oxidation, polishes the lens, and adds UV protection; it does not repair cracked housings, internal moisture, or failed bulbs.
Cloudy headlights are more than a cosmetic annoyance. Oxidation, surface scratches, road grit, and ultraviolet exposure can make a lens scatter light instead of allowing the lamp to project a clean pattern onto the road. For drivers in Kitchener, that matters during dark commutes, rain, snow, slush, and the long period of shorter winter daylight.
This guide explains the main Kitchener headlight restoration benefits, how the service works, when DIY makes sense, and when replacement is the better decision. It also covers practical aftercare for vehicles exposed to road salt, construction dust, summer sun, and frequent washing.
What is headlight restoration?
Headlight restoration is the controlled removal of damaged material from the outside of a plastic headlight lens, followed by polishing and application of a protective finish. Most modern lenses use polycarbonate rather than glass. Their factory coating gradually wears under sunlight, weather, road debris, salt, and repeated cleaning.
As that outer layer deteriorates, the lens may turn yellow, milky, dull, or rough. The damage can scatter part of the beam and make the headlight appear dim even when the bulb and electrical system are working correctly. Restoration targets this external deterioration; it is not a substitute for diagnosing the complete lighting system.
What the service can address
- Yellow or brown surface oxidation
- Cloudiness and light surface haze
- Fine scratches and weathering on the outer lens
- A dull finish that reduces the vehicle’s visual appeal
- Loss of the original outer UV protection
What it cannot address
- Cracks or holes in the lens or housing
- Condensation and water trapped inside the assembly
- Burned-out bulbs, wiring faults, or damaged reflectors
- Deep internal crazing that remains beneath the outer surface
- A headlight that is incorrectly aimed or has a failed seal
A proper inspection separates a restorable surface problem from a mechanical or structural fault. That distinction prevents spending money on polishing when the assembly needs repair, replacement, or electrical diagnosis.
What are the main Kitchener headlight restoration benefits?
The main benefits are clearer external lenses, a cleaner beam appearance, improved vehicle presentation, and protection against quickly returning oxidation. When haze is the reason a headlight looks dim or scattered, removing that haze can make nighttime driving feel more comfortable and predictable.
1. Better use of available headlight output
A cloudy lens can interfere with the light that the lamp is designed to project. Restoring the outer surface does not create a stronger bulb, but it can remove a barrier that diffuses light. Drivers may notice a cleaner cutoff, more defined illumination, and less of the hazy halo that makes wet pavement difficult to read.
Ontario’s official driver guidance explains that headlights help drivers see the roadway when visibility is poor and help other road users see the vehicle. Canadian transportation guidance likewise advises using headlights in darkness and bad weather. Restoration supports the condition of the lens; it does not remove the need to use the correct lights for the conditions.
2. More confidence during dark and wet commutes
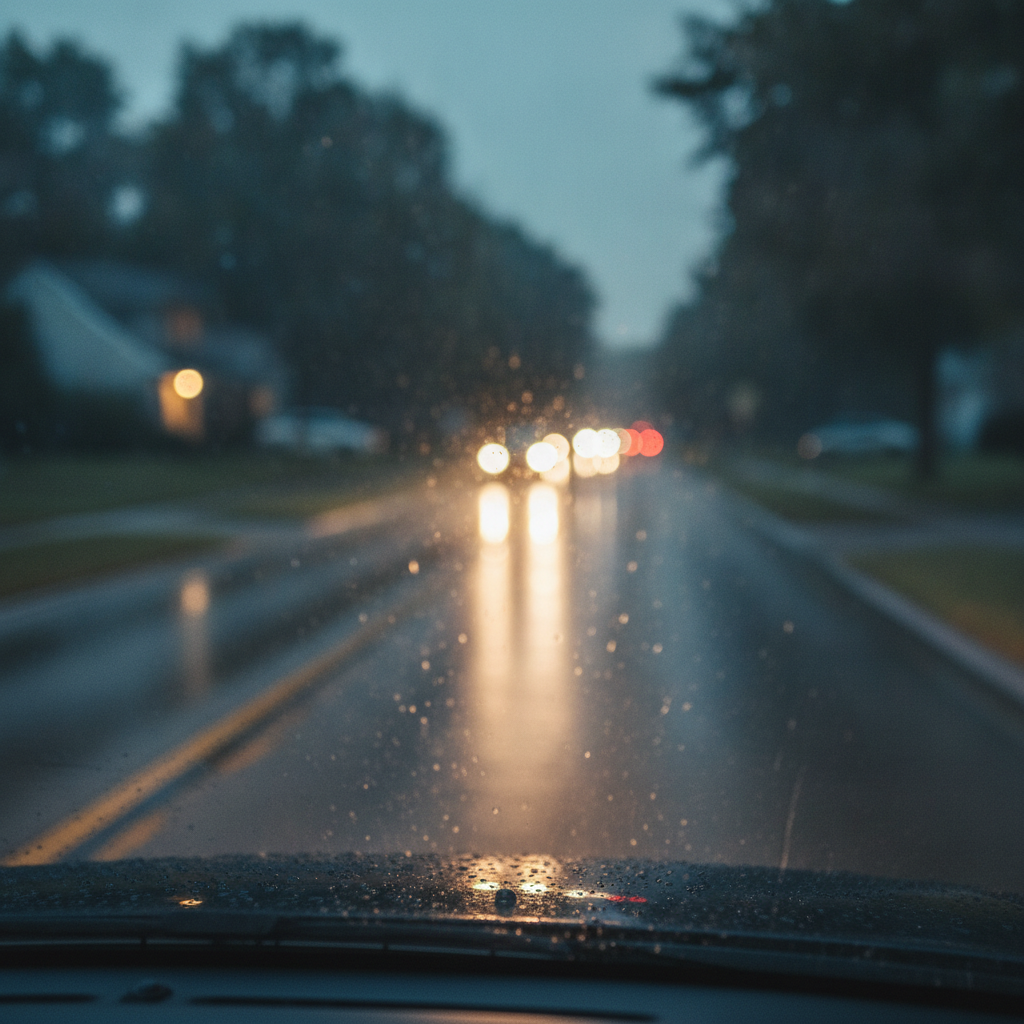
Rain, snow, and wet asphalt reflect light back toward the driver. If the lens is already scattering the beam, that reflection can make signs, lane edges, and surface changes harder to distinguish. A clear outer lens gives the existing lamp a better chance to produce the pattern intended by the vehicle manufacturer.
This is particularly relevant for Kitchener drivers who travel before sunrise, after sunset, or during winter weather. Restoration cannot guarantee a particular stopping distance or prevent collisions, but seeing road information sooner can support better decisions when combined with safe speed, proper following distance, and correctly functioning lights.
3. Reduced glare and visual distraction
Oxidation and fine surface damage can spread light in unwanted directions. That may create a diffuse glow rather than a controlled beam. A smoother, clearer lens can make the headlight pattern look more orderly and may reduce the distracting appearance of scattered light.
4. A fresher front-end appearance
Headlights sit at the most visible part of a vehicle. Yellowed lenses can make an otherwise clean sedan, pickup, SUV, or minibus look older than it is. Restoration refreshes the front end without requiring a full headlight assembly when the underlying housing remains sound.
The visual improvement is especially noticeable alongside an exterior hand wash, paint care, glass cleaning, or wheel cleaning. The result is not a new vehicle, but the front end can look more even and cared for.
5. Protection for the restored surface
Polishing alone is not the complete process. A suitable UV-protective topcoat helps shield the newly refined surface from the exposure that caused the original deterioration. The quality of preparation, application conditions, and future maintenance all affect how long the finish remains clear.
6. A practical alternative to premature assembly replacement
When the damage is limited to external oxidation, restoration may be a sensible alternative to replacing an otherwise functional assembly. It is important not to describe this as a universal replacement for new parts. Cracks, internal moisture, deep structural damage, or failed optical components still point toward repair or replacement.
How do restored headlights relate to safe vehicle lighting?
Headlight restoration is one part of vehicle lighting maintenance. Ontario guidance states that headlights must provide useful forward illumination and make the vehicle visible to others. The same guidance identifies headlights as important when visibility is poor, while Transport Canada warns about vehicles driven in darkness without proper lights.
These points support a straightforward decision rule: restore a cloudy outer lens when surface oxidation is limiting clarity, but inspect the complete lighting system if the beam remains weak, the lamp is misaligned, the bulb is failing, or moisture is present inside. Restoration should improve the lens condition, not be presented as a certification that a vehicle is roadworthy.
Before driving at night, confirm that both headlights work, the lenses are clean, the lights are used appropriately for darkness or bad weather, and the beam is not aimed into other drivers’ eyes. If a restored lamp still produces an uneven pattern, ask for an aiming or vehicle-lighting inspection.
How does professional headlight restoration work?
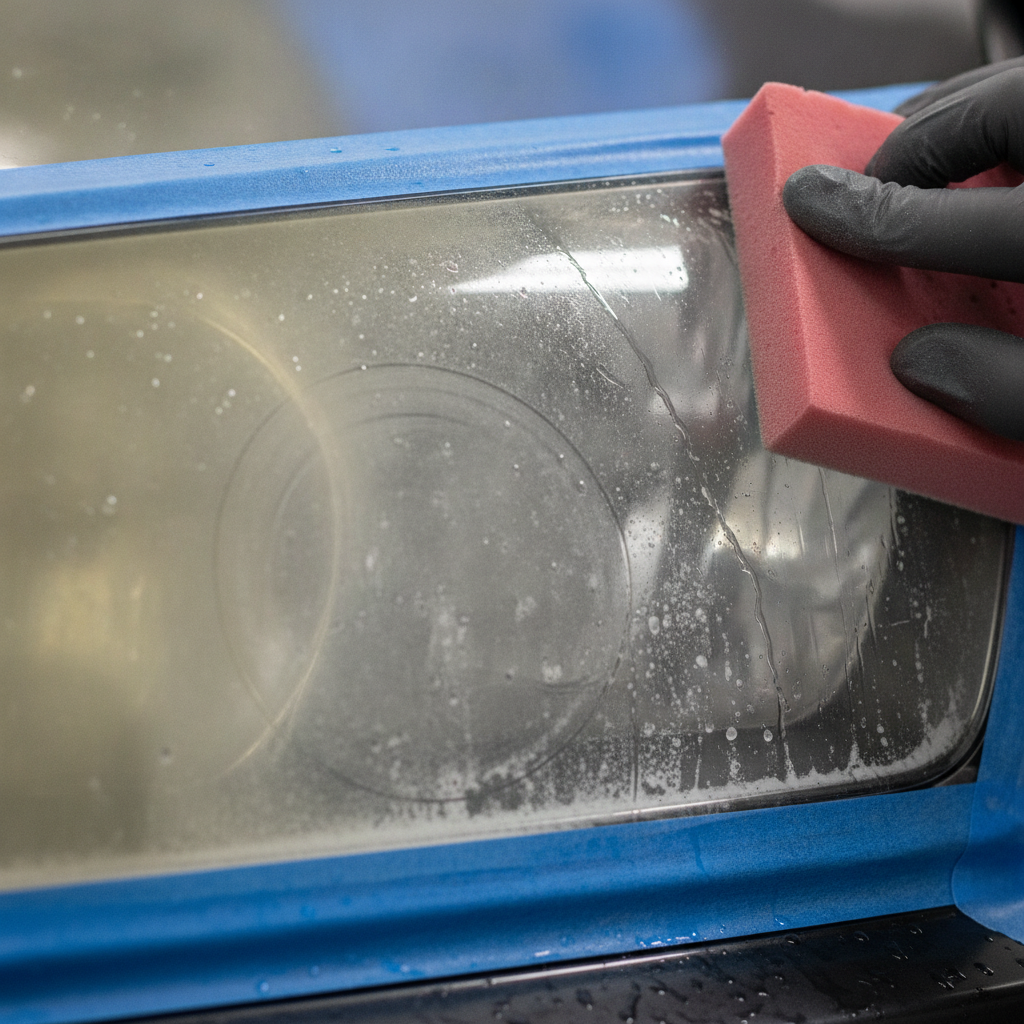
A professional process is controlled rather than improvised. The technician first determines whether the damage is external and restorable. The vehicle is then cleaned, nearby paint and trim are protected, the damaged layer is levelled progressively, and the surface is polished before UV protection is applied.
- Inspect the assembly: The technician checks for cracks, chips, internal moisture, deep crazing, and signs that the problem is not limited to the outer lens.
- Clean and decontaminate: Dirt, salt residue, wax, and road film are removed so the lens condition can be assessed accurately.
- Mask surrounding surfaces: Paint, grille pieces, rubber seals, and trim are protected from sanding and polishing contact.
- Level the damaged surface: Progressive wet-sanding removes oxidation and surface defects evenly. The starting material and sequence depend on the severity of the lens damage.
- Polish the lens: Plastic-safe compounds and suitable pads refine the sanding marks and restore optical clarity.
- Apply UV protection: A compatible protective coating or sealant is applied to help slow future yellowing.
- Check the result: The lenses are inspected under clear lighting, and the beam pattern can be checked against a wall when appropriate.
Rushing the sanding stage can leave uneven patches or remove more material than necessary. Skipping the protective finish can also make a lens look good briefly and then deteriorate again. The aim is a uniform surface with protection, not simply a temporary shine.
Should you use a DIY kit, professional restoration, or replacement?
The right choice depends on the lens condition, your tools, your tolerance for uneven results, and whether the problem is actually external oxidation. A DIY kit can be reasonable for light haze when the user follows the instructions carefully. Professional service is more suitable when the oxidation is heavy, the lens has significant surface wear, or consistent edge-to-edge results matter.
| Option | Best fit | Advantages | Limitations |
|---|---|---|---|
| DIY kit | Light haze and confident home projects | Convenient and hands-on | Uneven sanding, poor masking, or weak protection can shorten the result |
| Professional restoration | Moderate or heavy external oxidation | Controlled preparation, polishing, UV protection, and inspection | Requires booking a service and assessing whether the lens is restorable |
| Replacement | Cracks, internal moisture, deep damage, or failed assembly | Addresses structural or internal problems | Higher parts and installation commitment; aim may need checking |
When a DIY kit may be reasonable
DIY is most defensible when the haze is mild, the lens is intact, and you can work in a clean, shaded area with enough time to complete every stage. Masking must be thorough, sanding pressure must remain even, and the final UV protection must be compatible with the lens material.
When professional work is the safer choice
Choose professional restoration when the lens is heavily yellowed, rough, patchy, or difficult to access. It is also sensible when you do not have suitable abrasives, polishing equipment, controlled lighting, or confidence in protecting surrounding paint. A technician can stop the process if inspection reveals damage that polishing will not solve.
When replacement is more appropriate
Replacement deserves priority when the lens is cracked, the housing repeatedly fills with moisture, the reflector or internal component is damaged, or the hazing is beneath the surface. External restoration cannot seal a broken assembly or restore a failed optical component.
How can you tell whether your headlights need restoration?
Start with a visual inspection after washing the vehicle. If the lens remains yellow, cloudy, matte, or brownish after surface dirt is removed, external oxidation is likely. Run a clean fingertip lightly across the lens; a rough or chalky texture suggests surface degradation, although touching alone cannot diagnose the entire assembly.
- Appearance check: Compare both lenses in daylight. Uneven yellowing or cloudiness is a useful reason to request an assessment.
- Night-driving check: If the road appears dim despite working bulbs, inspect the lens and the rest of the lighting system rather than immediately installing brighter bulbs.
- Wall-pattern check: At dusk, observe the beam on a wall from a safe, level position. A fuzzy or irregular pattern can indicate lens damage, aim problems, or a lamp fault.
- Moisture check: Condensation inside the lens points to an internal problem that restoration alone will not correct.
- Damage check: Cracks, chips, and deep crazing should be assessed before any sanding begins.
Do not diagnose safety from appearance alone. A clear lens can still contain a weak bulb or electrical fault, while a moderately hazy lens may be improved without replacing the assembly. The useful next step is an inspection that identifies the actual source of reduced performance.
What seasonal factors matter in Kitchener?
Kitchener vehicles experience strong seasonal changes. Summer sun contributes to UV exposure, while winter driving brings salt, grit, slush, and frequent rinsing. Spring cleanup can expose small scratches and pitting that were hidden under road film, and construction dust can settle on the front of a vehicle during warmer months.
Before shorter days arrive
Late summer and early fall are practical times to inspect the lenses. Completing restoration before darker commutes gives the protective finish time to settle according to the product instructions and lets you address bulbs, aim, or moisture before winter conditions become routine.
During winter washing
Rinse salt and grit away before wiping the lens. Use clean, soft microfiber and avoid dragging abrasive residue across the surface. A quick rinse is better than rubbing a dry, dirty lens, which can create additional fine scratches.
After winter
Inspect the lenses in spring for new pitting, scuffs, and loss of protection. This is also a useful time to check whether moisture has appeared inside an assembly or whether road debris has caused a crack. Keeping a simple seasonal inspection habit helps identify repair needs before the next period of frequent night driving.
How should restored headlights be maintained?
Aftercare is deliberately simple. Wash the lenses with pH-balanced automotive soap, use a clean microfiber towel, and follow the maintenance instructions for the protective product applied. Avoid household abrasive cleaners, rough sponges, dry scrubbing, and aggressive polishing unless a qualified technician recommends them.
- Rinse off salt, sand, and construction dust before wiping.
- Use separate, clean towels for dirty exterior areas and clear lenses.
- Park in shade or a garage when practical to reduce prolonged direct sun exposure.
- Do not apply an unknown solvent or coating over the restored surface.
- Ask for a lens inspection during routine exterior detailing or seasonal cleaning.
- Investigate recurring internal condensation rather than repeatedly polishing the outside.
The interval between restorations cannot be promised for every vehicle. It depends on exposure, the condition of the plastic, the protective product, washing habits, and whether the car is parked outdoors. Good maintenance slows deterioration; it does not make polycarbonate permanently immune to UV or road damage.
Can restoration be combined with other Kitchener car care?
Yes. Headlight restoration can be scheduled alongside exterior washing, interior detailing, glass cleaning, ceramic coating maintenance, or window tinting when those services fit the vehicle’s needs. The sequence matters: the lens should be clean and properly prepared before its protective finish is applied, and nearby paint should be protected during sanding and polishing.
Bundling work can make the visual improvement more consistent because the headlights, glass, paint, wheels, and trim are assessed together. It should not, however, turn a safety-related inspection into a cosmetic upsell. The technician should explain which service addresses which condition and whether restoration, repair, replacement, or no immediate work is appropriate.
Frequently asked questions
Does headlight restoration improve visibility?
It can improve the clarity of an externally oxidized lens and reduce surface haze that scatters light. The result depends on the condition of the lens and the rest of the lighting system. Restoration does not replace a failed bulb, correct every aiming problem, or guarantee a specific increase in viewing distance.
How long does headlight restoration last?
There is no single lifespan for every vehicle. Durability depends on UV exposure, weather, washing habits, the condition of the plastic, and the protective finish used. Gentle cleaning, shade when practical, and seasonal inspections can help preserve the result.
Can severely yellowed headlights be restored at home?
They may be restorable with a careful DIY process if the damage is limited to the outer surface. Heavy oxidation increases the risk of uneven sanding, thin spots, incomplete polishing, and inadequate UV protection. Professional assessment is sensible when the lens is rough, deeply marked, or difficult to mask.
When should headlights be replaced instead of restored?
Replacement is generally the more appropriate path for cracked lenses, persistent internal moisture, deep structural damage, or failed internal optical components. Restoration removes external oxidation only. An inspection should confirm that the assembly is sound before surface work begins.
Book a headlight assessment in Kitchener
If your headlights are yellow, cloudy, rough, or difficult to evaluate, Techno Car Studio can assess whether external restoration is appropriate. Contact Techno Car Studio to discuss headlight restoration and coordinate it with the vehicle care your car actually needs.